I got inspiration for this topic from the new GPU Zen 3 book. This had an article about this and I've always been curious on how to implement occlusion culling. I did some surface level research and kept track of resources that might be relevant (can be found below).
Research
During this phase I read over all the resources I collected during the preparation phase, and looked for more as well. As I was reading up on this, I created questions for myself about things I was unsure about. And while doing the research, I started writing out a plan for how to implement this feature.
Questions
- How big should the depth buffer be for the algorithm?
- Answer: The same size as the largest dimension of the depth buffer. We need to down sample it level by level, so we need to start at the biggest resolution.
- Does the depth buffer need to be square?
- Answer: MIP level selection becomes more complicated if the lengths are not square
- Can we reuse the normal depth buffer as HZB?
- Answer: During the first pass we still render to the depth buffer, we use this as the input for the HZB.
- During the First Pass, do we render the results only for the depth buffer, or also as actual draws?
- Answer: You render the draws that were visible in the previous frame to the gbuffers.
- How do we down-sample? Compute shader, or can we blit.
- Answer: Blit only has the vk::Filter options for scaling the image, which does not satisfy the requirement that we need to choose the highest value.
- Answer: Using the sampler filter minmax extension, we can use reduction modes to more easily sample the HZB and depth buffer.
Plan
Initialization
- Create HZB image with a mip chain
- Create visibility buffer the same size as all the draws, with one bool per draw
- Can be optimized by packing this into bits
Render loop
- Generate draws
- Generate draws based on what is currently visible in the visibilty buffer. Also perform frustum culling, to cull out what it isn't visible.
- First pass
- Render out all the draws generated.
- Build HZB
- Build a mip chain for the HZB using the depth buffer.
- Generate draws again
- Ignore all draws that were already processed in the first pass.
- Frustum cull
- Occlusion cull
- Get AABB of bounding sphere in screen space
- Determine mip index of HZB based on AABB
- Sample correct LOD from the HZB
- Compare sample against nearest depth of the object we're testing
- Second Pass
- Render out the newly generated draws
Profiling results
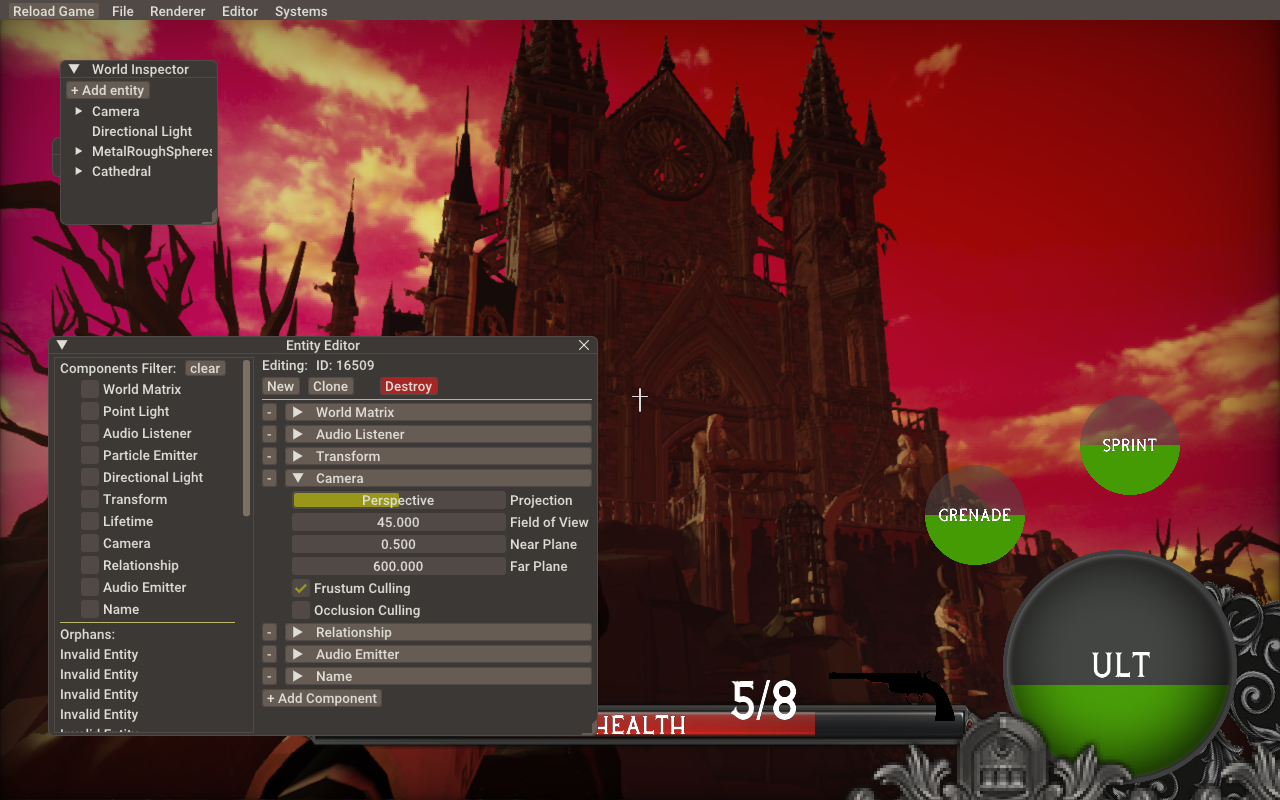
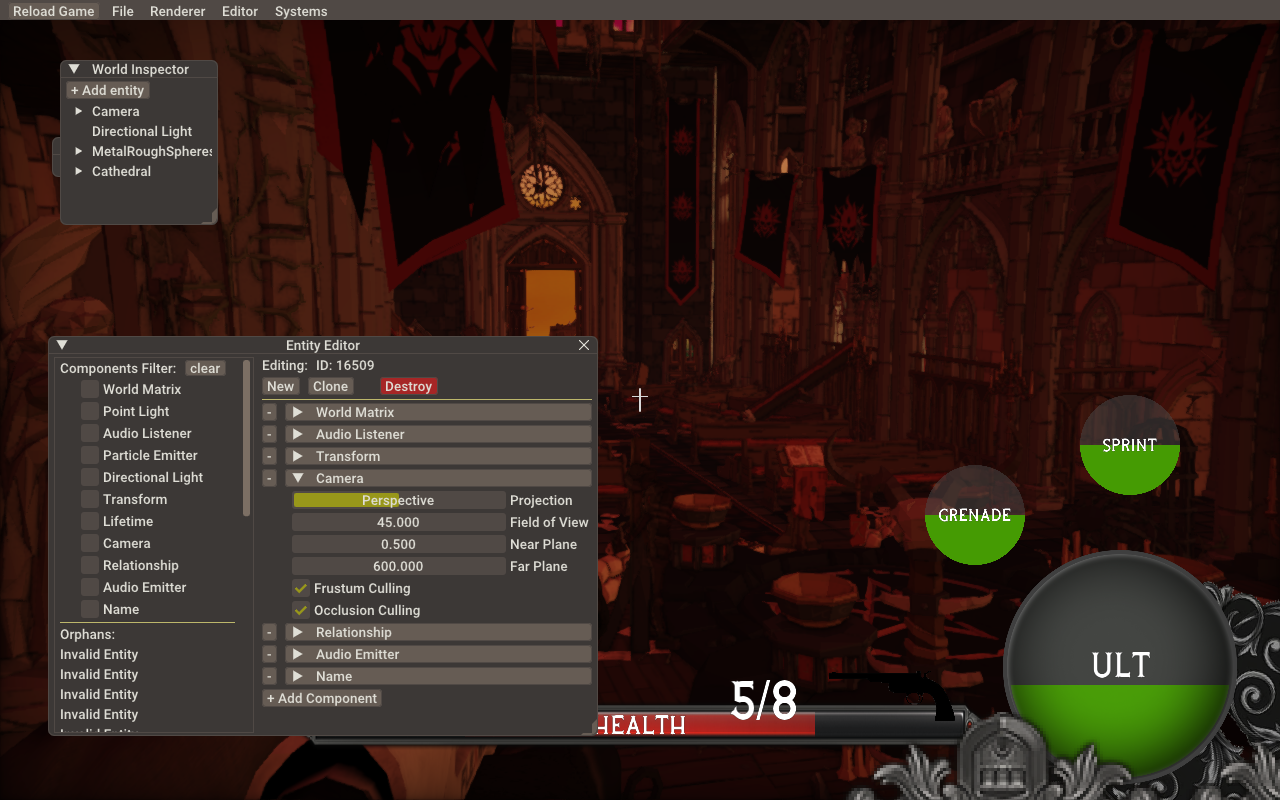
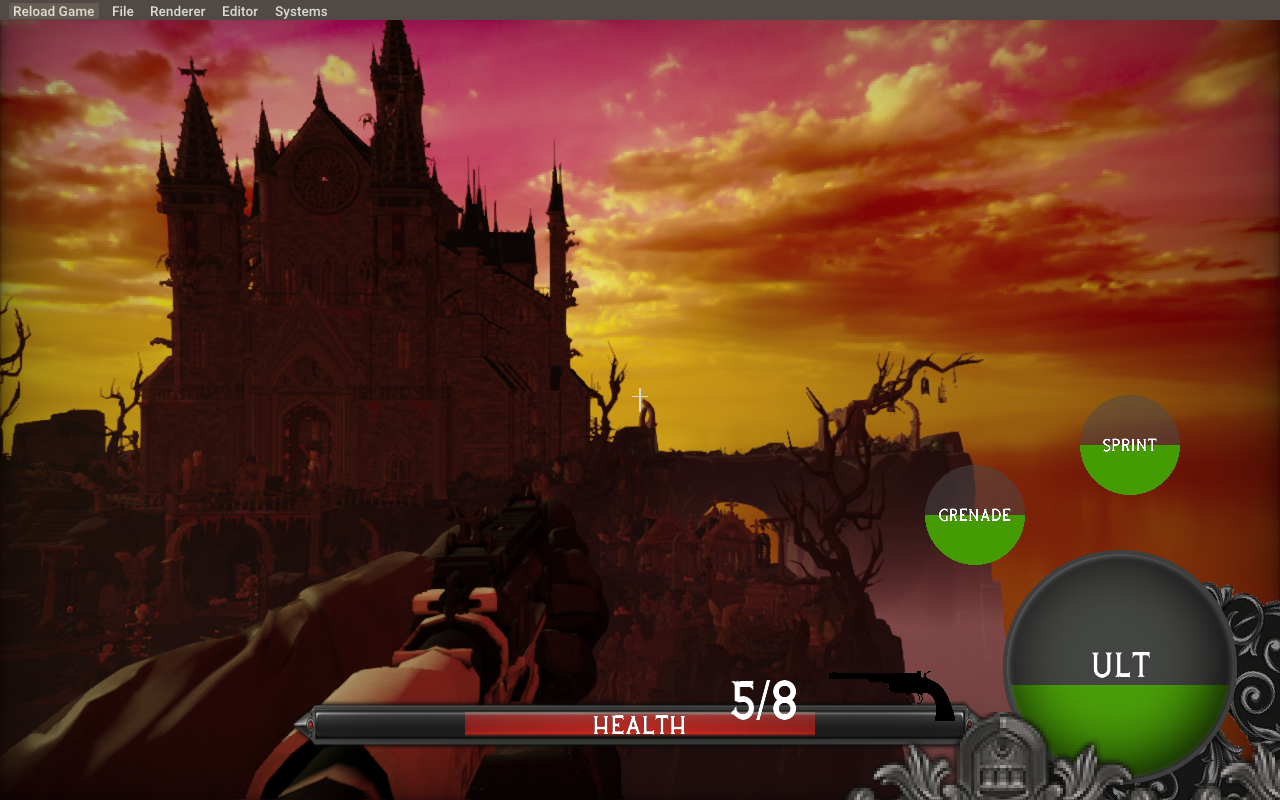
To look at the profiling results I want to review the difference between 3 scenes. Each of these scenes having some special properties that I'll note down. To review the differences between the before and after I want to analyze the following: the before state is just the duration for the geometry pass to run, the after is the duration of the geometry pass, plus the building of the hzb, and draw generation.
The scene has 8000 draws in total and there is no culling happening on the CPU.
The profiling will be performed on the Steam Deck, because it's lower-end than my PC/laptop, and is also the hardware target for our project.
Scene 1

Before
- Draw generation: 0.017ms
- GBuffer pass: 3.44ms
- Total: 3.457ms
After
- Pre pass draw generation: 0.016ms
- Pre GBuffer pass: 2.17ms
- HZB generation: 0.789ms
- Second pass draw generation: 0.021ms
- Second GBuffer pass: 0ms
- Total: 2.996ms
Difference 0.461ms dencrease
Scene 2

Before
- Draw generation: 0.013ms
- GBuffer pass: 5.07ms
- Total: 5.083ms
After
- Pre pass draw generation: 0.018ms
- Pre GBuffer pass: 2.94ms
- HZB generation: 0.757ms
- Second pass draw generation: 0.022ms
- Second GBuffer pass: 0ms
- Total: 3.737ms
Difference 1.346ms decrease
Scene 3

Before
- Draw generation: 0.014ms
- GBuffer pass: 3.74ms
- Total: 3.754ms
After
- Pre pass draw generation: 0.016ms
- Pre Gbuffer pass: 3.24ms
- HZB generation: 0.725ms
- Second pass draw generation: 0.02ms
- Second GBuffer pass: 0ms
- Total: 4.001
Difference -0.247ms increase
What did I learn
HZB culling
Implementing this feature made me understand the following:
- The steps required to make use of a HZB image to cull out draws
- Project the bounding box on the screen, determine the bounds, determine the mip level, and sample from that mip level at the correct UVs.
- How to build an HZB image, using compute shaders.
- Make use of sampler reduction modes to downscale progressively
- How to sample from an HZB image and test the result against a bounding sphere.
- Compare the sample from the HZB against the closest depth point from the draw being tested.
- How to properly manage two passes for rendering
- Make use of the visibility buffer between frames, so it orchastrates what should be drawn when.
Push descriptors
While trying to build the HZB, I realized one major flaw, is that our bindless model won't work for this. This is because we need to write to specific mips of the image, which isn't supported in our model. So back to descriptors. However, since we're updating these multiple times (one mip is the input for the next), this means that every update overrides the previous. To make this work we need a lot of descriptors, so this didn't feel like the correct solution either.
Enter push descriptors. This is an extension (supported on the Steam deck, of course) that allows you to push data for descriptors during the recording of a command buffer. So your descriptor update, becomes a command instead, this makes it possible to properly organize all these updates.
The idea is that you first create a vk::DescriptorUpdateTemplateInfo that lists all the resource descriptions, so it know what kind of data you will be pushing through.
std::array<vk::DescriptorUpdateTemplateEntry, 2> updateTemplateEntries {
    vk::DescriptorUpdateTemplateEntry {
        .offset = 0,
        .stride = sizeof(vk::DescriptorImageInfo),
        .dstBinding = 0,
        .dstArrayElement = 0,
        .descriptorCount = 1,
        .descriptorType = vk::DescriptorType::eCombinedImageSampler,
    },
    vk::DescriptorUpdateTemplateEntry {
        .offset = sizeof(vk::DescriptorImageInfo),
        .stride = sizeof(vk::DescriptorImageInfo),
        .dstBinding = 1,
        .dstArrayElement = 0,
        .descriptorCount = 1,
        .descriptorType = vk::DescriptorType::eStorageImage,
    }
};

vk::DescriptorUpdateTemplateCreateInfo updateTemplateInfo {
    .descriptorUpdateEntryCount = updateTemplateEntries.size(),
    .pDescriptorUpdateEntries = updateTemplateEntries.data(),
    .templateType = vk::DescriptorUpdateTemplateType::ePushDescriptorsKHR,
    .descriptorSetLayout = _hzbImageDSL,
    .pipelineBindPoint = vk::PipelineBindPoint::eCompute,
    .pipelineLayout = _buildHzbPipelineLayout,
    .set = 0
};

_hzbUpdateTemplate = _context->VulkanContext()->Device().createDescriptorUpdateTemplate(updateTemplateInfo);
After that, you can list out your descriptor info that you want to write into your command buffer, and push them using the correct update template!
vk::DescriptorImageInfo inputImageInfo {
    .imageView = inputTexture,
    .imageLayout = vk::ImageLayout::eShaderReadOnlyOptimal,
};
vk::DescriptorImageInfo outputImageInfo {
    .imageView = outputTexture,
    .imageLayout = vk::ImageLayout::eGeneral,
};

commandBuffer.pushDescriptorSetWithTemplateKHR<std::array<vk::DescriptorImageInfo, 2>>(_hzbUpdateTemplate, _buildHzbPipelineLayout, 0, { inputImageInfo, outputImageInfo }, _context->VulkanContext()->Dldi());
The only things omitted here are some flags and extensions that need to be set to make this work properly.
Sampler reduction modes
While looking at examples of HZB culling algorithms I found the original author of the paper using sampler reduction modes to sample the depth buffer and HZB. The reason this is interesting is because normally you would have to take multiple samples to determine which one is the lowest. For example, when building your HZB you need to look at each previous mip (starting with the depth buffer), and keep the lowest value while down sampling, per 4 pixels (since each size is halved).
However, using the sampler reduction mode extension, we can apply this our vk::Sampler and set a sampler reduction mode to be set to vk::SamplerReductionMode::eMin, and this will automatically return you the lowest value when down sampling. This can be seen as a separate behaviour for bilinear filtering, but instead of receiving a weighted average, you can receive either the highest or lowest value.
Conclusion
I've been able to successfully implement the two-pass HZB occlusion culling algorithm. By following my research and the implementation from the reference, I integrated the algorithm in our engine and have been able to use it to cull out draws for optimizations.
Looking at the profiling it can be seen that there is an improvement in performance. This is, however, not always the case, but it is in the general one. This new approach has a higher up-front cost, because of the HZB building. The extra draw generation computes are barely noticeable, even on the Steam Deck.
The cases in which it is less performant, is mainly when there are no draws to be culled, in that case the building of the HZB is just extra time. I think this will also be especially effective in scene with more geometry and triangles, since that would save even more than in this low-poly scene.
Resources
- GPU Zen 3, chapter 4, Two-Pass HZB Occlusion Culling
- Describes the two-pass implementation well
- https://medium.com/@mil_kru/two-pass-occlusion-culling-4100edcad501
- https://www.rastergrid.com/blog/2010/10/hierarchical-z-map-based-occlusion-culling/
- https://www.youtube.com/watch?v=gCPgpvF1rUA
- https://www.nickdarnell.com/hierarchical-z-buffer-occlusion-culling/
- Shows a complete compute workflow
- Outdated implementation
- https://github.com/jstefanelli/vkOcclusionTest/blob/master/shaders/query.comp
- A complete compute implementation, using draw commands
- https://github.com/milkru/vulkanizer
- Two-pass implementation
- https://gist.github.com/edecoux/8a44614f135104f20aa0babafbcdcf5d
- Confirms what to draw during first and second pass.
- https://registry.khronos.org/vulkan/specs/latest/man/html/VK_EXT_sampler_filter_minmax.html
- The extension for using reduction modes in Vulkan.